背景
接上一篇《自动产出changelog-第一节:规范提交代码》调研的后续,本文将基于 angular.js格式 的提交内容围绕自动化产出进行后续调研。研究的方向为产出内容的工具是否支持各种自定义特性,能否帮助我们实现团队的风格及自动化过程中的一些问题。
简述
在调研的过程中大量的文章都会推荐使用 conventional-changelog/conventional-changelog 进行changelog的产出,而其他包含更丰富功能的库背后使用的依旧是这个工具进行内容的产出。其作者还制作了 conventional-changelog/standard-version 和 conventional-changelog/standard-release 两套功能更为丰富的工具供我们使用,standard-release具有一个规范的使用前提,所以这个规范并不符合我们团队的情况,下文讨论将围绕standard-version进行。而另一个工具叫 release-it/release-it 的近三年比 conventional-changelog更活跃,具体选择哪个工具好?下面将给出参考。
standard-version
项目安装1
$ npm i --save-dev standard-version
在package.json加上下面这段内容后,调用 npm run release 使用1
2
3
4
5{
"scripts": {
"release": "standard-version"
}
}
全局安装1
$ npm i -g standard-version # 使用 standard-version
直接使用1
$ npx standard-version
调用standard-version后会输出以下内容:
1 | $ npx standard-version |
standard-version会为我们做以下行为:
- 缓存当前文件变化
- 将历史回退至最后一个git标签的位置(查看package.json中提供的信息来定位git标签)
- 更新版本号
- 产出changelog文件
- 提交变动
- 打上新版本的git-tag
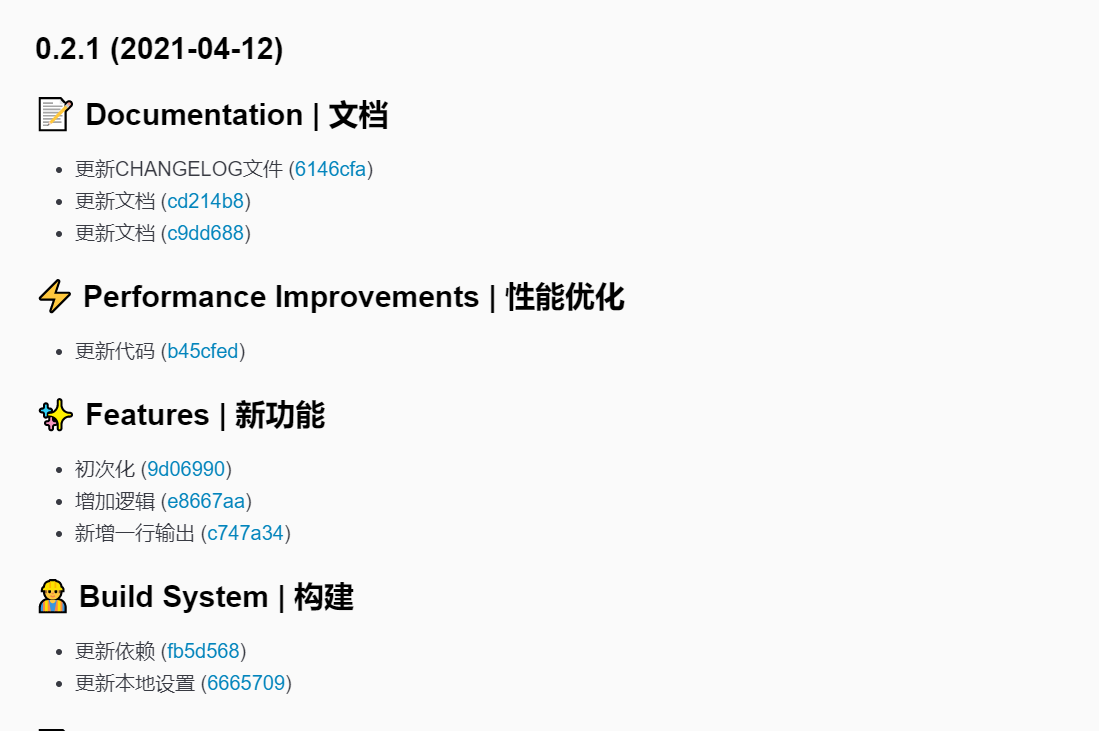
产出的changlog长这个样子:
1 | # Changelog |
预览操作行为(不会实际执行),可使用 --dry-run 尝试操作:
1 | $ npx standard-version --dry-run |
到这步都是使用默认的方式进行,后面开始探讨自定义内容。
自定义
上面产出的changelog内容并不是每个团队都认可的,必定存在需要改动的期望;其次还有在CI/CD工具中需要配合其他工具一并使用,对于standard-version丰富的功能能否跳过也是一个重要的考量;最后一个是起自动更新版本号,版本号具有一定的语意(具体参考这篇文章《使用npm命令行更新版本号》),能否支持更细化的控制,就是另一个重要的考量了。
所以最后需要弄清楚:
- 能否自定义产出的changelog内容?能做何种程度的自定义呢?
- 能否跳过一些standard-version提供的行为呢?
- 能否自定义更新版本号呢?
自定义产出Changelog内容
官方文档中提到,要自定义配置可以选择两种方式,写在package.json里面,或是令建一个.versionrc文件。standard-version将会在这两处获得配置内容。下面选用独立文件的配置方式进行说明。
创建.versionrc文件
1 | $ touch .versionrc |
.versionrc内容为JSON格式,影响changelog产出设置的配置内容包含以下这些:
| 配置项 | 类型 | 描述 |
|---|---|---|
| header | String,字符串,支持’\n’ | 文档的头部内容,默认值为:’# Changelog\n\nAll notable changes to this project will be documented in this file. See standard-version for commit guidelines.\n’ |
| types | Array, type对象数组 | 用于配置输出的内容。type对象包含:type 对应commit录入中的type;section 展示的文字内容;hidden 是否隐藏;例子:{"type": "feat", "section": "Features", "hidden": false} |
| preMajor | Boolean,布尔值 | 用于控制是否显示1.0.0版本之前的changelog。 |
| commitUrlFormat | String,字符串 | 提交内容可访问地址,默认:///commit/ |
| compareUrlFormat | String,字符串 | 两个提交对比的可访问地址,默认:///compare/... |
| issueUrlFormat | String,字符串 | 提问内容地址,默认:///issues/ |
| userUrlFormat | String,字符串 | 提交人可访问的地址,默认:/ |
| releaseCommitMessageFormat | String,字符串 | 用于格式化自动生成的发布落实消息的字符串。 |
| issuePrefixes | Array |
用于检索提问内容的标识,如:#39;默认是:['#'] |
格式文档来自这里:《Conventional Changelog Configuration Spec (v2.1.0)》,上面用到的模板变量(如:)在前面格式文档最后有提交。
整合到文件内容如下面例子:
1 | { |
通过这个配置产出的文档内容如下:
1 | # 更新历史 |
这里基本满足大部分团队对Changelog自定义的功能,假如还需要更深入的个性化操作,可以基于 conventional-changelog-conventionalcommits 这个插件templates目录中的模板文件,然后在使用时设置 –preset 指向改动后的预设项目来满足自定义需求。反正我找了一圈官网提供的内容都没有找到更好的配置方法,突破口也是从standard-version --help 中看到,再配合掘金网友提供的资料 (vue-cli-plugin-commitlint)才能知道门道。当然可能存在封装好能帮助解决自定义问题的仓库,那位朋友知道更详细的多谢告知一下,我后续会再完善这篇文章。
跳过特定流程
standard-version 工作流程包含几个环节,其实每个环节都可选择跳过,具体可以在.versionrc 文件中增加配置来实现:
1 | { |
也可以通过命令行来实现:
1 | $ npx standard-version --skip.changelog false |
自定义提交
1 | $ npx standard-version --message '%s版本更新' |
%s内容会被替换为当前的版本号。
吐槽一下,官方命令行提示说 –message 已淘汰,建议使用 releaseCommitMessageFormat 。可是在其代码中却没找到 releaseCommitMessageFormat 这个选项的支持。代码传送门
指定语义化版本
这里有三个命令帮助我们解决问题:
--first-release初次发布操作。这步操作并不会递进版本号。npx standard-version --first-release--prerelease预发布操作。npx standard-version -- --prerelease版本会从0.2.0变为0.2.0-0;npx standard-version -- --prerelease alpha可以增加前序,版本会从0.2.0变为0.2.0-alpha.0。--release-as指定发布操作。npx standard-version -- --release-as minor版本从0.2.0变为0.3.0。
流程钩子
standard-version在流程上更进一步的自定义控制,它提供了流程的执行前后的钩子设置,可用于运行命令行。比如standard-version不支持自定义的issues地址(见issue#48),可通过在产出changelog后运行命令行进行替换。1
2
3
4
5
6
7{
"standard-version": {
"scripts": {
"postchangelog": "replace 'MY GITHUB URL' 'MY JIRA URL' CHANGELOG.md"
}
}
}
具体还有比较多的其他钩子就不细说了,官网文档有详细说明(见#signing-commits-and-tags),这里只提供一个思路。
小结
总的来说standard-version还是能满足需求的达成生成changelog的任务。由于它是一个较老的项目了,团队主力都去维护standard-release,对于standard-version未来功能的改善推动效率不会太高。评价就是能用。
release-it
在扒完standard-version的源码后,对于前端项目的发布工程流程环节有了更深的了解。基于这样的背景下再学习release-it这个工具感觉,它真的是简单易懂。release-it 本身是交互式的工具,而下文讨论内容围绕着在 CI/CD工具 内容运作,带上 –ci 参数就能进入静默模式。
安装
1 | # 全局安装 |
release-it具体的工作流程:
- 同步远端内容
- 更新版本号
- 产出changelog
- 提交变动
- 增加git tag
- 推送tag更新至远端
通过--dry-run更能看到详细的行为:
1 | $ npx release-it --dry-run --ci |
release-it支持更多的自动化操作,包括:发布至npm、更新github release,或是gitlab相关的支持都有,这里流程只关注git仓库相关的就不细说了。
自定义
讨论的方向依旧是那几样:
- 是否支持自定义changlog格式?
- 是否支持跳过特定流程?
- 是否支持自定义版本?
release-it支持内容不像standard-version文档及配置分布在各个项目上,在其项目的release-it.json文件中已包含全部配置内容。
自定义changelog
release-it 默认产出changelog方法是:git log --pretty=format:\"* %s (%h)\" ${from}...${to},可以在release-it.json文件第4行中看到。而需要按 angular 提交内容格式产出changelog则需要配置release-it/conventional-changelog插件进行设置。具体设置如下:
1 | # .release-it.json |
值得注意的是release-it/conventional-changelog也是用conventional-changelog作为changelog产出核心。最终配置的格式还是和 conventional-changelog 一样。
这里不知道为何header没有生效。
header没有生效原因找到了。单从这个作者混乱的文档中是找不到答案的,在阅读了conventional-changelog相关的各种源码也没有找到一处设置header的设置,最后在standard-version的代码中才找到。所以最终结论是:conventional-changelog本身并不支持header的设置。为了解决这个问题我在@release-it/conventional-changelog提交PR希望作者能通过吧。只需要在
infile同层的位置设置header就能实现自定义的页头。
跳过特定流程
配置总体分为4个部分:git、npm、github、gitlab。默认开启git和npm环节功能。要跳过特定流程只需要在配置加上就可以了,比如下面配置将不执行npm环节的处理:
1 | # .release-it.json |
在命令行传入可以这样使用:
1 | $ npx release-it --no-npm.publish |
某些配置是布尔值的,可以加上no-前缀将其值设置为false
git环节部分还可细分为:
- 提交变动 commit
- 创建标签 tag
- 推送至远端 push
如不需要推送至远端的行为可以在配置增加下面的内容:
1 | # .release-it.json |
或是在执行命令加上
1 | $ npx release-it --no-git.push |
具体细节建议查看 .release-it.json 配置文件,或是细读官方指南。
自定义提交内容
这个功能对于CI/CD工具来说是比较重要的一环就单独拿出来说了,比如我使用的CI/CD工具 drone.io ,把[CI SKIP]写在提交内容就能让它避免在自动处理管道内形成循环提交的问题。
在 release-it 中可以这样配置:
1 | # .release-it.json |
在执行命令中可以这样写:
1 | $ npx release-it --ci --git.commitMessage="ci: 更新版本至 ${version} | [CI SKIP]" |
指定语义化版本
与standard-version不同,release-it 设计更贴近npm version命令,使用起来比较容易理解。比如发布重大更新:
1 | $ npx release-it major --ci |
预发布部分由于整合了好几个功能在一个配置,这里需要特别强调一下:
1 | # 整合起来的命令 |
所以像我这种不需要整合功能的,需要拆开来使用
1 | # 只响应package.json中的版本号 |
细节可以阅读 pre-releases 部分的指南。
流程钩子
这个环节设计和standard-version差不多,细节建议直接看官方文档就行了。
结尾
在学习使用的流畅度(上手过程)来看,相对 standard-version 我可能更偏向于使用 release-it。release-it 比较年轻更有活力,定位问题我觉得还是能简单从源码中找到的。调研过后,我们团队接下来的自定义处理将使用 release-it 进行后续工作。之后还需要对接到 tower与飞书实现任务更新及消息通知。
希望这篇文章对需要定制工作流程的团队或个人起到帮助。